
Get to Know your 1/4” Foot

If you like to make quilts, then you know having an accurate and consistent 1/4” seam allowance is incredibly important. An inconsistent seam can lead to seams not matching up, blocks being either too large or small, and lots of curse words and frustration. I’ve been there, you’ve been there, we’ve all been there. As we grow as quilters, we learn how to get our seam allowance more accurate. But if you need some help in this department, I am going to share with you my saving grace when it comes to piecing and getting my 1/4” seams just right.

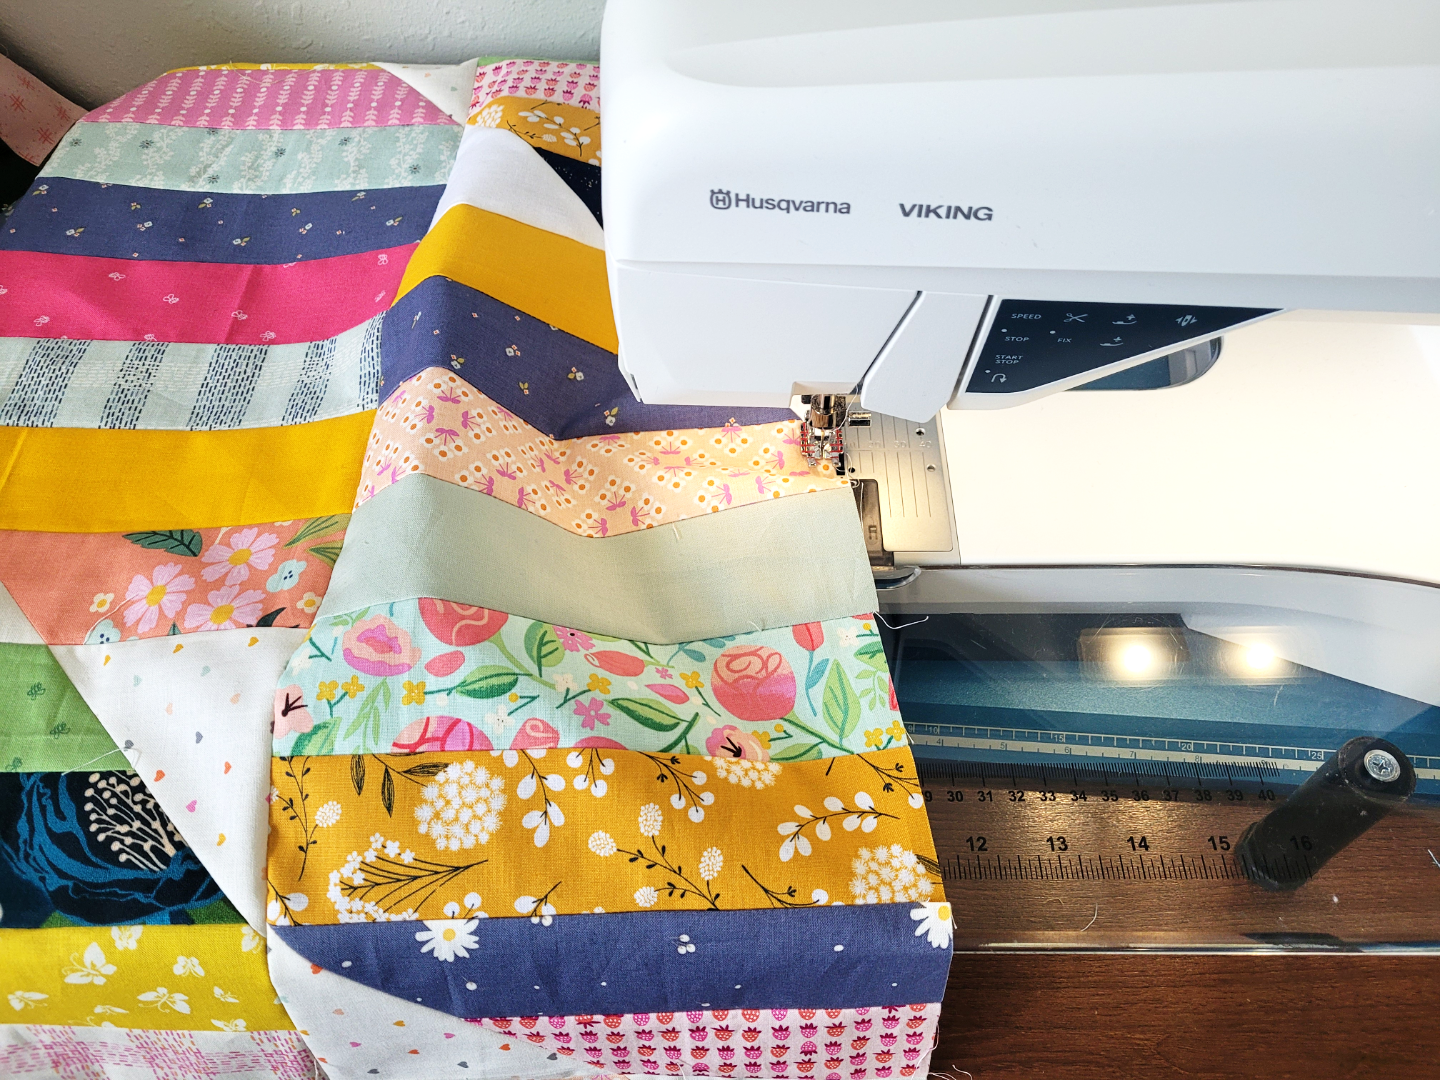
This little presser foot came with my sewing machine. It is a 1/4” piecing foot from HUSQVARNA VIKING and I use it about 99% of the time I am sewing. As you can see, there are several lines that go horizontally across the foot, and two that are vertical across the foot. Let me show you what these lines mean, and how to use them.
1/4” Lines:

Obviously, this is a 1/4” foot so you would expect it to measure 1/4”. And so it does. The two vertical lines on the foot measure a 1/4” from the needle on either side. The extensions on the foot also help to measure 1/4”. If you align your fabric on the outside of the extension, that is a 1/4” seam. Having 1/4” measurement on both sides of the needle comes in handy when you are making half square triangles (HSTs). When I piece, I use the right-side measurement, but when making HSTs, and I need to follow a marked line on my fabric, it is so much easier to use the left-side measurement.


There are also 2 horizonal measurements for 1/4”. The last mark behind the needle and the first mark before the needle also indicate 1/4”. I specifically use the mark in front of the needle when attaching binding and coming to a corner. This lets me know when I am exactly 1/4” from the edge of the quilt. That way I can miter my corner and keep on keepin’ on. This also goes for sewing Y or in set seams. It takes the guess work out of it.


1/8” Lines:

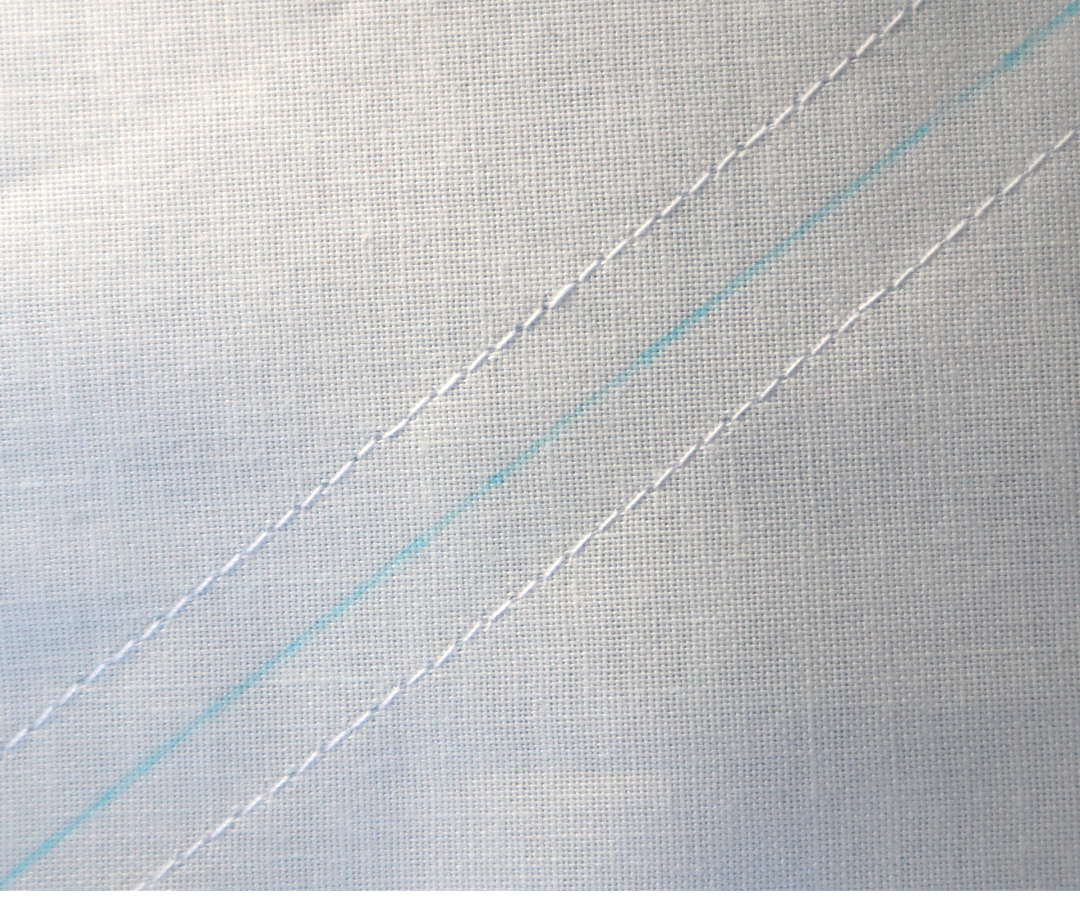
Now that we have gone through the most used measurement on our foot, let’s talk about the other lines. The other two horizonal lines measure 1/8” from the needle behind and in front. Also, the inside of the foots forward extensions measure 1/8”. This is a measurement I use if I am doing what some people call a “Victory Lap,” but I call it a stay stitch. This is just a straight stitch all the way around the perimeter of your quilt 1/8” from the edge. This helps prevent fraying, any seams on the edge of your quilt from opening and prevents stretch from quilts pieced on the bias. It’s just a good thing to do (and your longarm quilter will thank you if you do it.)


5/8” Measurement:

Here is a little bonus for you all. There is also a way to use this foot to measure 5/8” from the needle. If you align your fabric with the outside edges of the foot, you will get a 5/8” seam. This is not a common measurement for quilting, but I do sometimes use it when making bags or something I want to be a little more secure. You can also attach your binding at 5/8” instead of 1/4”.
So, there you have it. This one little foot sure comes in handy. And it has made me a more accurate piecer. If you don’t already have a 1/4” foot for your sewing machine and you are a quilter, what are you waiting for? Its 100% worth it to add one of these to your sewing arsenal. If all you do is make quilts, then it’s the only foot you’ll ever need.
Ashlee Doyle is a HUSQVARNA VIKING Brand Ambassador. Learn more about the HUSQVARNA VIKING Sewing and Embroidery Machines Here.